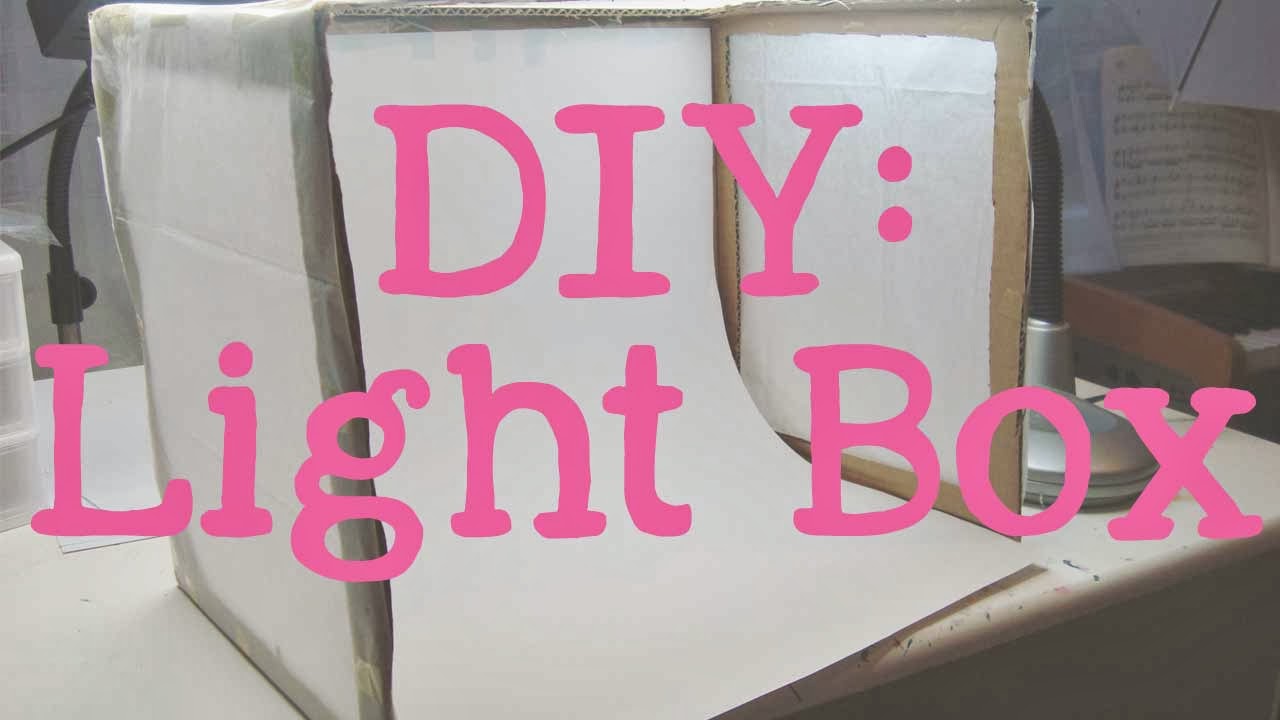
DIY Light Box | Tutorial, Care & How To Use
I remember when I first started blogging; pictures were a constant problem! I was running around the house trying to get the best lighting, and none of it was good. Too dark, too light, too yellow, too blue. That was until I learned how to make a light box, and bought a decent light. I followed Chalkboard Nails' tutorial, and now that I've made many and worked out all the kinks, I decided to film a tutorial video for it. I also included some tips on how to look after it (feed and water regularly) and how to take photos using it. It honestly makes such a difference to your photos - I've included a couple of comparison examples in the video. Please subscribe to my channel!
Of course, light boxes (or light cubes) aren't just for nail bloggers. They're great for blogging about make-up or other small items, and for taking photos of products to sell online. I personally have a foldable light-tent, now, but I'll still keep this one around. There are pros and cons to both of them, but that's another blog post!
Hope you found this video useful - and if you're a blogger and haven't made one of these yet, do it! You'll be amazed at how much better your photos and whole blog looks because of it.


Very helpful tutorial! I made one myself but I'm still working out some issues with it. I don't think my lighting is enough since the photos I take are still kind of dark or has redness to it.
ReplyDeleteI should have mentioned that I still do edit my photos on the computer afterwards, to make sure the colours and brightness are right. And I still don't get it perfect. Keep playing around and you'll get there!
DeleteI also use a foldable tent, it's much more sturdy and 2 or 3 lamps, there's no such thing as too much light :p. Loved that ring lamp...never seen anything like it here, I'll check on eBay.
ReplyDeleteBye!
Yeah I love that I can just grab my light tent and go, it is a massive bonus. And yes I love my ring light!
Delete