My Nail Polish Birthday Cake - With Recipe For The Best Chocolate Cake Ever!
I'm just going to put this out there - I'm not so good at cake decorating. In fact I'm terrible at it. Nevertheless I decided to make a nail polish cake for my 23rd birthday! In this post I'll show you the cake, of course, and then the process of making it. It's probably the best chocolate cake I've ever tasted, and better yet I kind of made it up. By "kind of" I mean I looked at lots of different recipes and took the best bits from each to make this cake of wonder. It's a really easy cake to make, too! I think I'll be using the recipe again for Christmas time (chocolate cake > fruit cake any day).

See, I said I'm no good at decorating! It's still better than a boring round one!
Okay, so are you ready for the best chocolate cake recipe ever? Here are the ingredients you'll need:
2 cups plain flour
2 cups white sugar
3/4 cup cocoa powder
2 teaspoons baking powder
1 1/2 teaspoons baking soda
1 teaspoon salt
1 sachet nescafe cappaccino (or similar - I only had this in the house)
1 cup milk
1/2 cup vegetable oil
2 eggs
2 teaspoons vanilla essence
1 cup boiling water
And go!
1. Sift the flour, cocoa, baking powder, baking soda and nescafe sachet contents into a bowl and add the sugar and salt. Mix together. Try not to do an epic fail and get cocoa all over your phone like I did...

+copy.jpg)
It should be looking something like this once you've mixed those seven ingredients together.

2. Add milk, vegetable oil, eggs, and vanilla essence. Mix with the wooden spoon until combined.
+copy.jpg)

Remove the spoon and lick it clean. This is a very necessary part of making this cake, be sure not to skip it ;).

3. Add the boiling water and mix with a handmixer (or a food processor) for a decent time - a good two minutes. This will (from what my brain and tastebuds understand) make the cake very light and fluffy, by adding lots of oxygen into the cake.
+copy.jpg)
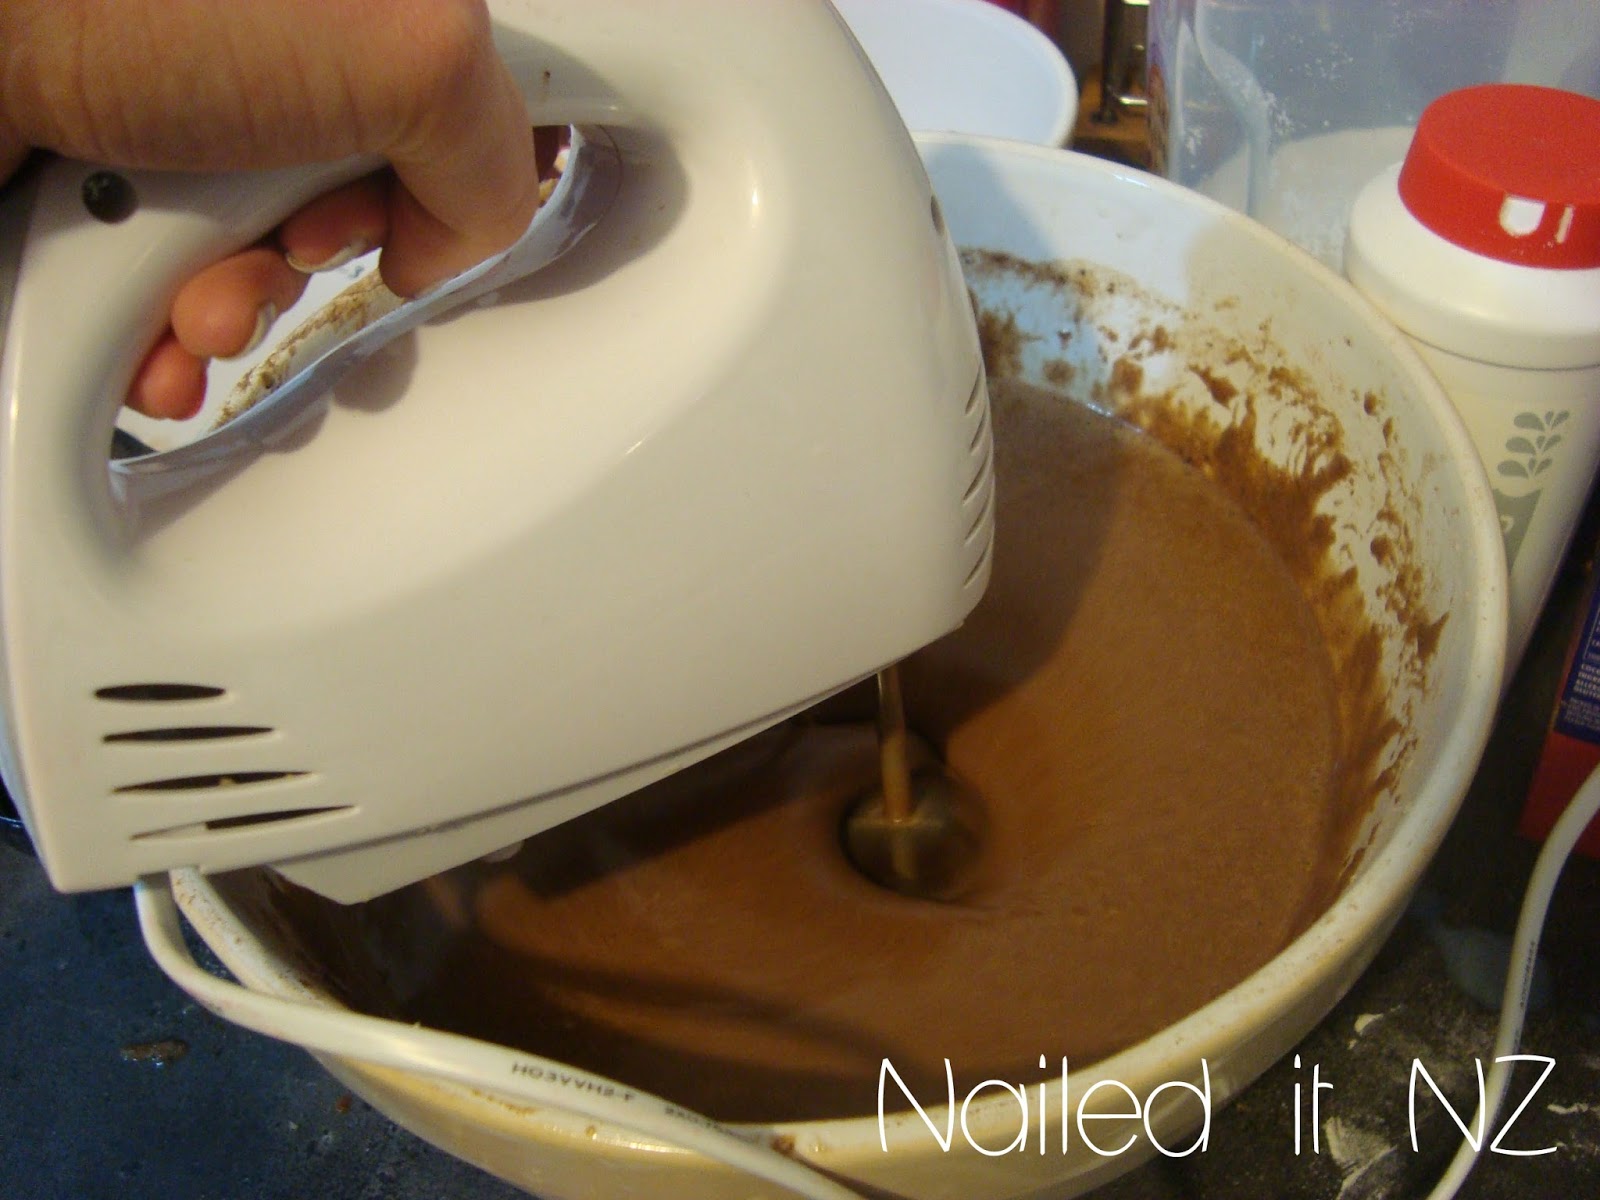
4. Now it should be well and truly mixed and have plenty of bubbles floating on the surface, like you can see here.
+copy.jpg)
Pour the mixture into two cake tins - one long and rectangular (bread tin) and the other square (ish). I had heaps of mixture left over so I threw the rest into some other cake tins I had lying around.
+copy.jpg)
5. Bake at 180 degrees celcius for 30-35 minutes. Mine got slightly burnt but not enough to worry about. To be honest I was probably too busy painting my nails and got forgot to check them...
+copy.jpg)
6. Arrange the cakes on a board and slice off bits that aren't necessary. I shaped mine like an OPI bottle.
+copy.jpg)
+copy.jpg)
7. There's not much point me telling you how to ice it as I did pretty shockingly... but basically I made up some pink and black icing, iced the two cakes and then added the writing with a zip-lock bag with a hole in the corner. For the icing I assume I just used icing sugar, boiling water, butter (or margarine), food colouring and maybe some vanilla essence. The more buttery the easier it'll be to ice the words on.
It tasted delicious! Hope you guys like my nail polish birthday cake and if anyone makes one, please please please take a photo because I would LOVE to see it! Just post it on my facebook page, here!

The Cake look cute! even if it's the first time. If I would've done it;believe me it would be terrible. Anyway Happy Birthday ;)
ReplyDeleteHappy Birthday!
ReplyDeleteWhat a great idea for a cake! I will definitely try this out too :D
I love it :) Great job and happy birthday!!
ReplyDeleteCAAAAAAAAAAAAAAAAAAAAAAAAAAAAKE :DDDDD
ReplyDeleteAnd happy birthday ;D
Happy Birthday Jessie!!
ReplyDelete