Nail art for short nails tutorial #11: Peacock nails
I asked on Facebook a while ago about which nail tutorials I should do next, and now I have a decent sized list to work my way through! The first design I decided to do was peacock nails!

This post will be full of info that I couldn't squeeze into the picture.
Firstly, you don't have to use the colours I used. In fact, if I did it again I would probably use a lighter blue for the background and either lighter greens or more brown-toned colours for the stripes. Peacocks don't all look the same, it turns out! Some have brown feathers and others are bright green. And you could always go for an abstract purple or pink!
Firstly, you don't have to use the colours I used. In fact, if I did it again I would probably use a lighter blue for the background and either lighter greens or more brown-toned colours for the stripes. Peacocks don't all look the same, it turns out! Some have brown feathers and others are bright green. And you could always go for an abstract purple or pink!

Secondly, here's the picture I got the idea from. Okay, theirs is blatantly better☺. I couldn't for the life of me find the original nail artist for this, so if anyone knows please tell me so I can credit them!

 |
| Source |
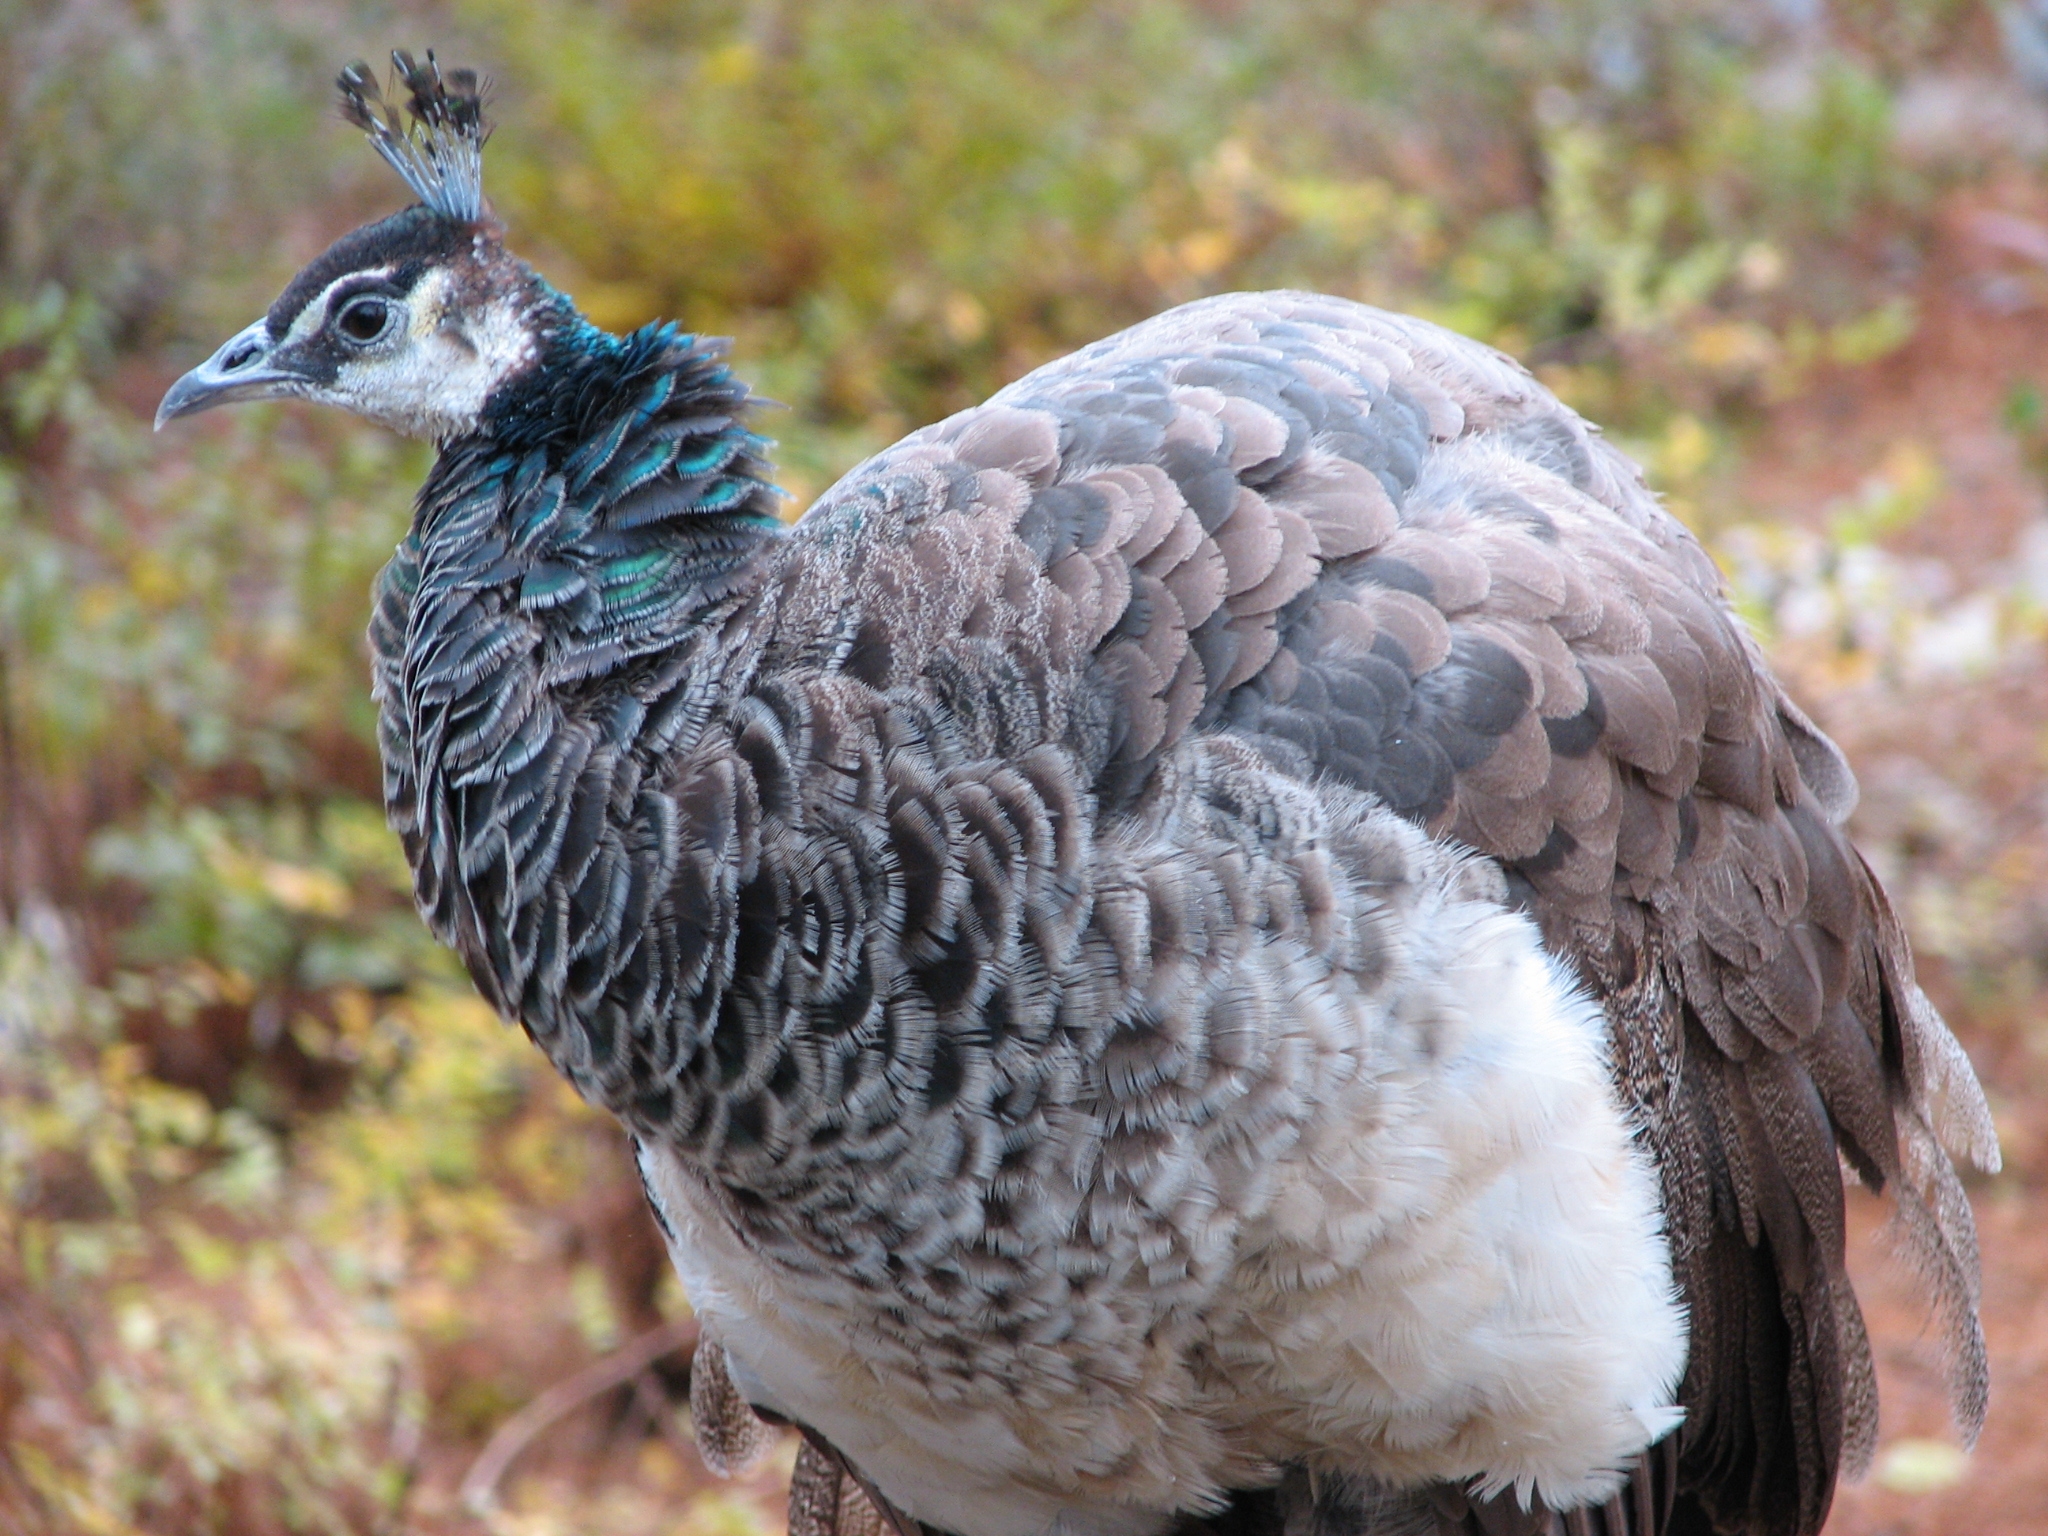
I love peacocks, they're so beautiful! I feel a bit sorry for the poor females though, they're very plain Jane compared to the males. Here's a picture of a peahen (yes, they're called that -and babies are called peachicks, how adorable!) in case you're not familiar with them.
 |
| Source |
I'm definitely doing these again, just not as a tutorial. I want them to look like the ones in the picture above!

Hope you like this tutorial, and I've got plenty more to come! Remember I have heaps more tutorials here.

wow its a beutifull is wow no coment really its exelent
ReplyDeletePerfect peacock manicure and nice tutorial! :-)
ReplyDeleteLove this tutorial so much I pinned it to my Pinterest!! Thanks for sharing!!
ReplyDelete